· 6 min read
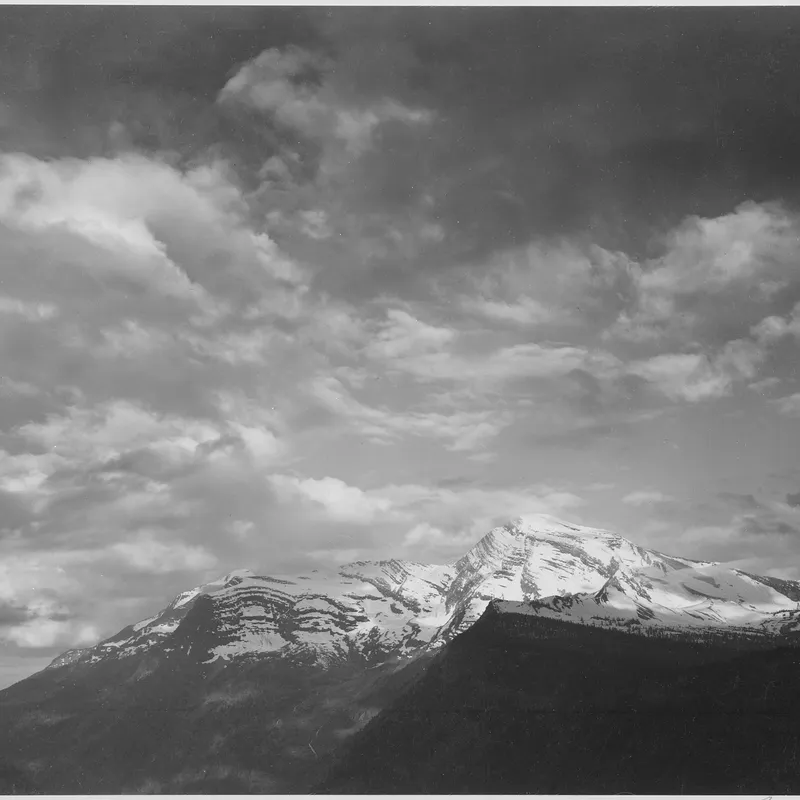
The Negative as Score: Adams, Print Values, and the Logic of Dodging and Burning
How Ansel Adams treated the negative as a fixed score and the print as performance, holding back and burning in to realize a visualized tonal scale.
Written in by Simon Lehmann Editor
Base exposure is the single time, at a fixed aperture and magnification, that places a negative’s chosen reference tone where you want it on a particular paper and grade. Guessing it wastes paper and chemistry, because paper density rises steeply and non-linearly with exposure and the eye cannot read the result from the dim projected image. A stepped test strip records several exposures on one sheet so the correct time is selected against a real, processed tone rather than estimated. The procedure below is Ilford’s own, worked on Multigrade RC at grade 2.
Set the enlarging lens two to three stops down from wide open. Ilford’s exposure-testing guidance specifies f/8 as the starting point, with a grade 2 filter in the head. That aperture is not a compromise but the lens’s best working point: a 50mm f/2.8 enlarging lens such as a Schneider Componon-S or Rodenstock Rodagon is sharpest around f/5.6 to f/8, where residual aberrations have closed up but diffraction has not yet begun to soften the grain. Stopping down that far also buys depth of focus, so a fractionally misaligned baseboard or negative stage still holds sharp across the sheet. If every band of the finished strip is too pale, open up to f/4 and repeat; if all are too dark, close to f/16.
Tear one sheet of Multigrade RC into five equal strips and expose them at 2, 4, 8, 16 and 32 seconds, each step doubling the last. Doubling is what makes the steps even: a stop of light is a doubling regardless of the absolute time, so 16 to 32 seconds is the same one-stop interval as 2 to 4 seconds, while adding a fixed number of seconds would give wildly uneven density jumps because paper responds logarithmically.
The reason this matters more on paper than on film is contrast. Paper is far steeper than any negative emulsion. A grade 3 paper holds only about three stops from paper-white to maximum black; grade 0 spans roughly five stops and grade 5 barely a stop and a half. Across so compressed a scale a full-stop step often jumps clean over the exposure you actually want. This is why serious printers move to finer increments once the base is roughly located. F-stop enlarging timers such as the RH Designs StopClock step in fractions of a stop, down to 1/24 stop on the Professional model, with test-strip increments selectable from 1/12 to 1/2 stop. You set a centre time and a step size and the timer does the doubling arithmetic for you.
Lay the strip so its bands cross the negative’s significant tones, not a single flat area such as plain sky, and anchor your judgement to one defined reference. Working the zone system, that is usually a Zone V midtone or a chosen Zone VII textured highlight; the companion method for minimum exposure is the maximum-black-through-film-base test, the foundation of the proper proof Ansel Adams sets out in The Print (1983).
Take a portrait negative and run the strip across the forehead highlight, the iris catchlight and the shadowed jaw. Process the full sheet, then read it: the 8-second band still shows texture in the forehead, but the 16-second band has blocked that highlight to a flat mud while the catchlight has lost its sparkle. The base lies between, around 8 to 11 seconds. Cut a second strip and expose it at 8, 9, 10, 11 and 12 seconds, or in 1/6-stop f-stop steps over the same span, and you land on, say, 10 seconds for the forehead to sit as a textured Zone VII.
Develop the strip for the full recommended time rather than pulling it when it “looks right” under safelight, because density keeps building and a snatched strip misreads the exposure. For Multigrade RC that means Multigrade developer at 1+9 for one minute at 20C, a stop bath of Ilfostop at 1+19 for ten seconds, then Ilford Rapid Fixer at 1+4 for thirty seconds. Rapid Fixer is non-hardening, so there is no gain in extending the fix and over-fixing can etch the image. As Ilford puts it, “after 30 seconds in the fixer you can view them under normal room lights to decide on the correct exposure time.” A safelight flatters everything; judge under white light.
A wet print reads lighter than it will once dry. The mechanism is physical: the swollen wet emulsion holds its silver grains farther apart, so they cover less and read at lower density; as the gelatin contracts on drying, the grains crowd back together, midtone and highlight density rise and local contrast flattens, robbing the print of brilliance. On fibre-base paper budget an 8 to 12 per cent reduction in exposure, roughly 1/8 to 1/5 of a stop; around 8 per cent is the figure commonly quoted for Multigrade FB. You calibrate it by printing a series at 1 per cent steps less exposure and matching a dried print back to the original wet one. Resin-coated paper barely swells and so dries down negligibly, so the compensation is essentially a fibre-base concern. This is the reason you choose the band a hair light. The RH Designs StopClock Professional builds the compensation in automatically.
Sources: Ilford Photo’s exposure-testing guidance for the f/8 and 2-4-8-16-32 procedure; Ansel Adams, The Print (1983); and Ralph Lambrecht and Chris Woodhouse, Way Beyond Monochrome (2nd ed., 2011) for dry-down and f-stop printing.
· 6 min read
How Ansel Adams treated the negative as a fixed score and the print as performance, holding back and burning in to realize a visualized tonal scale.
· 6 min read
How camera meters average a scene with center-weighted and multi-zone matrix patterns, where each fails, and when an exposure override is warranted.
· 6 min read
How and when to bracket exposures by full and fractional stops, how to set the spread for film versus digital, and when brackets serve as insurance or as blending source frames.
The grainmag companion app
Meter and place your tones without a signal. No account, no internet required — just you, the light, and the grain.