· 5 min read
Acros II Reciprocity: Why Metered Exposure Holds Into Multi-Second Territory
How Fujifilm Neopan 100 Acros II resists reciprocity failure to 120 seconds, and what its Super Fine-Sigma grain delivers.
Written in by Simon Lehmann Editor
Your light meter is calibrated to turn whatever it reads into 18% reflectance middle grey. Point it at a snowfield and it underexposes the snow to a muddy grey; point it at a black cat and it overexposes the cat to the same grey. Ansel Adams and Fred Archer worked out the fix at the Art Center School in Los Angeles around 1939-40. Adams called it “a codification of the principles of sensitometry” — a way to predict, before you trip the shutter, exactly where every tone in the scene will land on the negative and the print.
The system divides a scene into eleven zones from pure black (Zone 0) to paper white (Zone X). The mechanism that makes it useful is simple: each zone is exactly one stop — one EV, a doubling or halving of light. Open up one stop and a tone moves up one zone; close down one stop and it moves down.
Zone V is metered middle grey, the 18% value your meter assumes: a clear north sky, weathered wood, dark skin. Zone III is the darkest shadow that still records texture — average dark materials with adequate detail. Below it, Zone II shows the first faint texture, Zone I is near-black with slight tonality, and Zone 0 is dead black. At the top, Zone VIII is the lightest tone that still holds texture — textured snow, a white wall with detail. Zone VII is very light skin or sidelit snow; Zone IX is near-white with no detail; Zone X is bare paper. The two zones that matter most are the detail anchors: III and VIII. Lose the scene below III or above VIII and you lose texture there forever.
Because the meter renders everything as Zone V, you cannot just point and shoot a shadow — the meter would push that shadow up to middle grey and blow the rest of the scene apart. Instead you place it. Meter the most important shadow where you still want detail and place it on Zone III. Zone III is two zones below Zone V, so placing on Zone III means giving two stops less exposure than the meter recommends — close down two stops, or pick a shutter speed two steps faster. Not Zone I (that would crush the shadow to near-black with no texture) and not Zone V (that would render your shadow as a mid-grey and overexpose everything above it). Zone III is the choice because it is the darkest zone that still prints with texture.
A barn at the edge of a field. You meter a shadowed wooden fence pole and it reads EV 12. You meter the bright white metal roof and it reads EV 17 — a five-stop spread. You decide the pole is your textured shadow, so you place EV 12 on Zone III: set the camera two stops down from what the pole metered. Now do the arithmetic for the roof. The roof is five stops brighter than the pole, the pole sits on Zone III, so the roof falls on Zone VIII — textured white. The whole scene fits, shadow to highlight, with detail at both ends.
Now suppose you had simply pointed the meter at the roof and let it centre. The meter would render that EV 17 roof as Zone V, dragging the entire scene down five stops. Your fence pole, five stops below the roof, would land on Zone 0 — solid black, no texture, gone. Same scene, same meter, three stops of difference in the shadows depending on what you place and where.
That is the maxim the whole system runs on. Placement sets the thin end of the negative — the shadows — and you fix it at the moment of exposure. Development time sets the dense end — the highlights, and therefore the contrast. You expose so Zone III prints with detail, then you develop so Zone VIII lands where you want it.
This second half exists because of dynamic range. A normal (N) scene measures about five stops from textured shadow (Zone III) to textured highlight (Zone VIII) — Zone VIII minus Zone III. A flat, foggy day might span only three or four; a room interior metered against a bright window can run to twelve. Print paper resolves at best about seven stops. A twelve-stop scene will not fit, so you contract it in development, and a flat scene you expand.
The control is development time, and the rule of thumb is a factor of roughly 1.4. N+1 (expansion — one more zone of highlight contrast for a flat scene) multiplies the normal time by about 1.4: ten minutes becomes fourteen. N-1 (contraction — pulling a high-contrast scene down to fit the paper) divides by 1.4: ten minutes drops to about seven. You give a contrasty scene less development to bring the highlights down, and a flat scene more to push them up, while the shadows, already fixed by exposure, stay put.
None of this is reliable until you know your real film speed, because box speed is a starting point, not a fact. In Zone System film testing you expose Zone I and look for a negative density of about 0.10 above film base+fog — that point defines your personal EI. Then you expose Zone VIII and adjust development until it reads about 1.25-1.35 above base+fog — that defines your normal development time. Without a densitometer you can cross-check against a clear, developed frame with a spot meter: a correct Zone V should read roughly two to two and a half stops darker than base+fog, Zone VIII about four to four and a half.
The numbers shift with developer. One worked test of Kodak T-Max 400, Ilford HP5+ and Ilford FP4+ in Kodak XTOL diluted 1+1 hit correct densities at eight minutes for all three — well short of the manufacturers’ recommended 9:30 to 12:00 — and landed at personal speeds of EI 400 for T-Max 400, EI 640 for HP5+, and EI 160 for FP4+. Your numbers will differ; the point is to find them.
Adams worked this out on sheet film, where every negative is developed individually, so contraction and expansion are easy: one sheet, one chosen time. Roll film is the constraint — thirty-six frames share a single development time, so you cannot develop frame 12 as N-1 and frame 13 as N. The honest workflow is to meter and place as Adams did, ideally with a one-degree spot meter so you can read individual tones, but shoot a roll of similarly contrasty scenes, develop the whole roll at your tested normal time for your tested EI, and recover the rest of the contrast in the scan rather than at the negative. You give up per-frame development control, but the placement discipline — expose for the shadows — carries over intact. If you’d rather not do the two-stop arithmetic in your head on a cold morning, the companion app below does the placement for you.
The canonical texts are Ansel Adams’s The Negative (Basic Photo series, 1948; revised 1981) for exposure and placement, and The Print for printing the tones you captured.
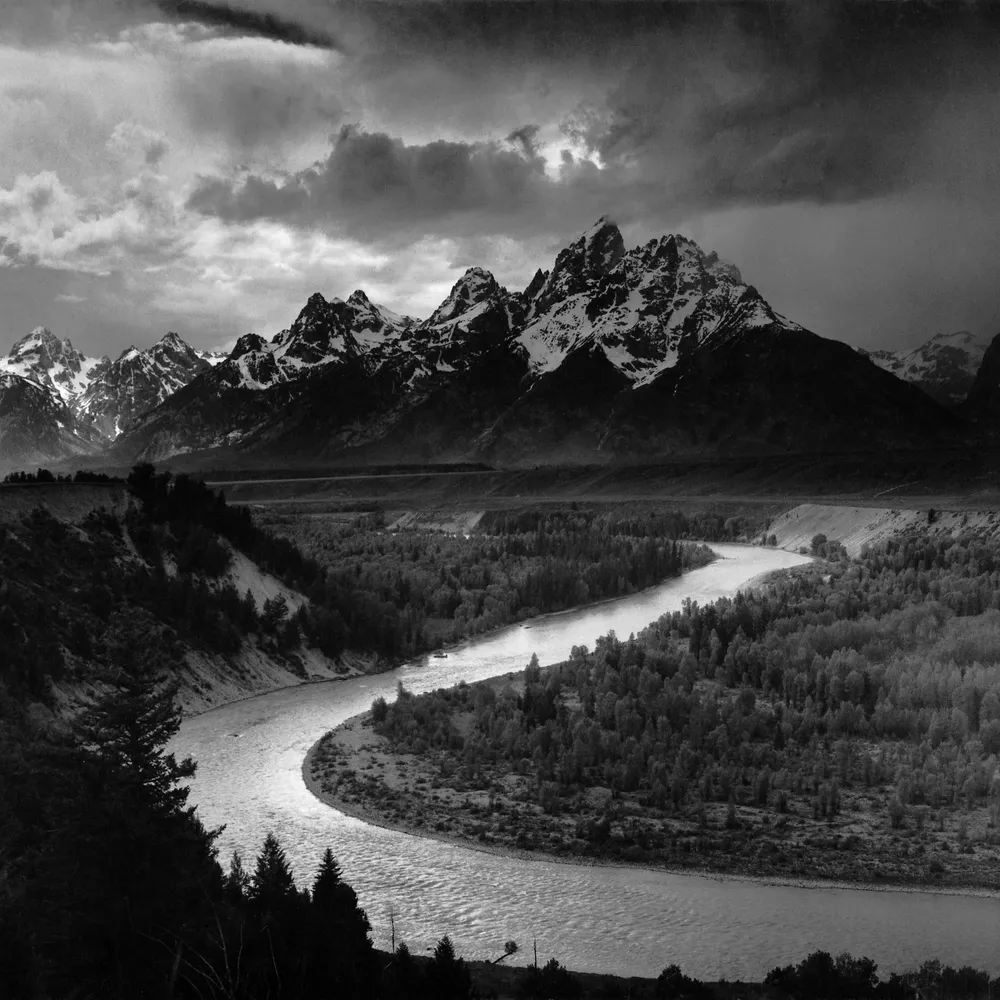
Image: “The Tetons and the Snake River” (Ansel Adams, 1942), from the National Archives Mural Project — public domain.
· 5 min read
How Fujifilm Neopan 100 Acros II resists reciprocity failure to 120 seconds, and what its Super Fine-Sigma grain delivers.
· 6 min read
How inversion, twirl, and rotary agitation move developer across the emulsion, the patterns they leave, and how each shapes evenness and contrast.
· 6 min read
How camera meters average a scene with center-weighted and multi-zone matrix patterns, where each fails, and when an exposure override is warranted.
The grainmag companion app
Meter and place your tones without a signal. No account, no internet required — just you, the light, and the grain.