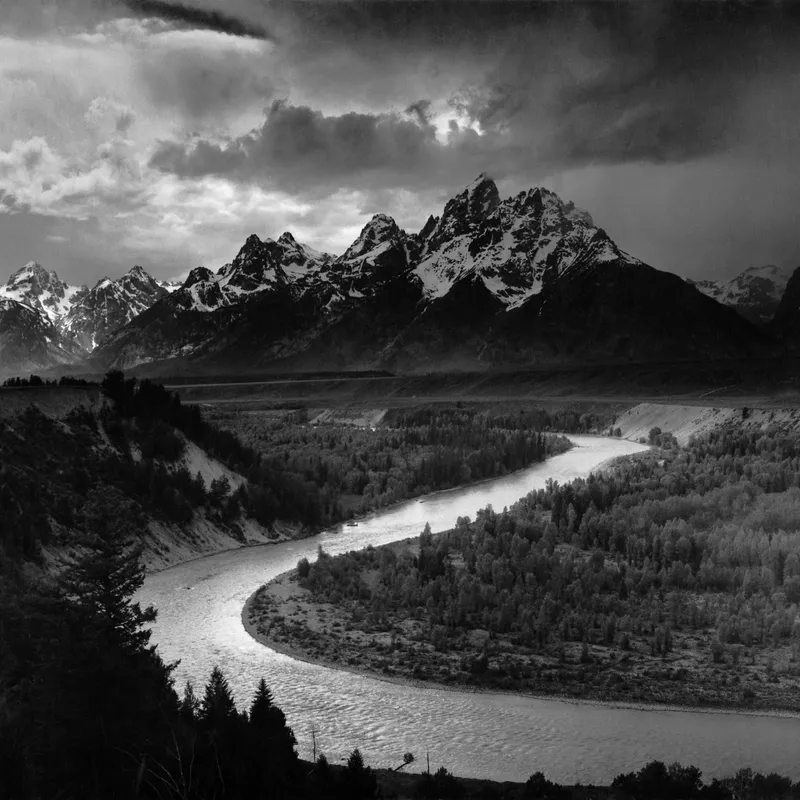
· 7 min read
The Zone System, explained for film shooters
How Ansel Adams's Zone System turns metering into a deliberate choice — and how to use it without a darkroom full of gear.
· 7 min read
How Ansel Adams's Zone System turns metering into a deliberate choice — and how to use it without a darkroom full of gear.
· 6 min read
Why film loses sensitivity during long exposures, how to read a stock's reciprocity data, and how to correct metered exposure times.

· 5 min read
How a stepped test strip establishes base enlarging exposure, covering aperture choice, strip orientation across the tones, and judging it under room light.

· 6 min read
When a contrast filter is combined with a polarizer or ND, the filter factors multiply rather than add, and each glass surface adds optical penalties.
· 6 min read
How filter factors are derived, why they shift with light source and film, and how to convert a factor into stops of added exposure.
· 6 min read
How neutral density filters are rated by optical density, f-stop reduction and ND number, and the arithmetic for recalculating shutter speed.

· 7 min read
How classic selenium hand-held meters encoded an exposure system on their calculator dials, and why the U and O markers anticipated Zone System placement.
· 7 min read
How the in-camera histogram maps tonal distribution, how to spot clipping and blocked shadows, and why the JPEG-based histogram misleads raw shooters.
· 6 min read
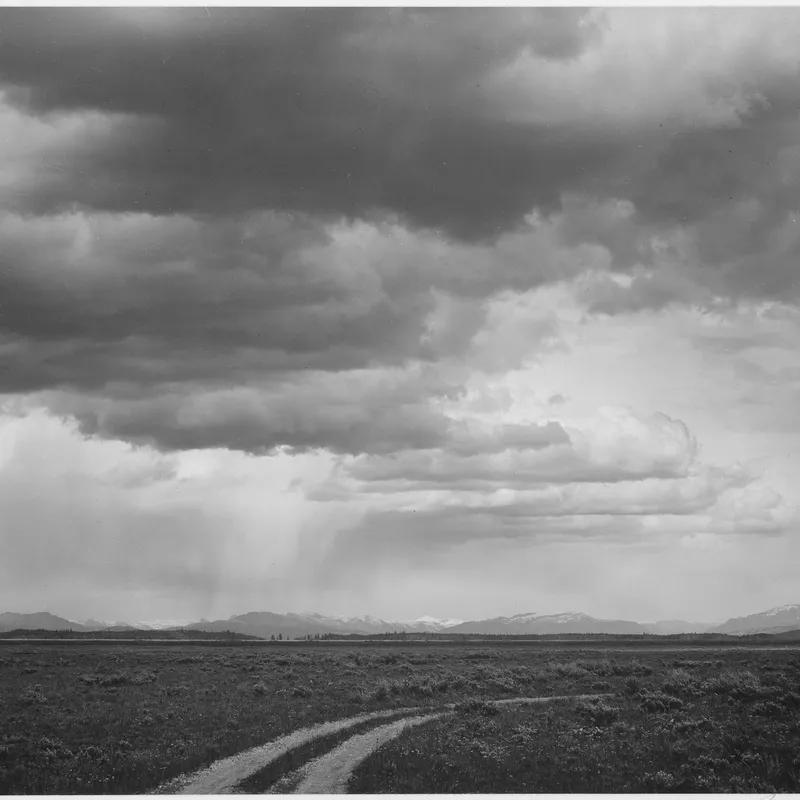
How graduated neutral density filters compress a scene's brightness range by darkening the sky, and why the horizon dictates a hard or soft transition.
· 7 min read
How a uniform sub-threshold exposure before the main exposure lifts deep shadows past the film's threshold while leaving highlights almost untouched.
· 7 min read
Why box ISO often yields thin shadows, and how metering Zone I density on a specific film and developer reveals a personal exposure index.
· 6 min read
How camera meters average a scene with center-weighted and multi-zone matrix patterns, where each fails, and when an exposure override is warranted.
· 6 min read
How the Sunny 16 rule estimates daylight exposure without a meter, its adjustments for cloud and shade, and why it still checks a metered reading.
· 7 min read
How spot readings of the darkest and brightest important areas reveal a scene's contrast range in stops, and whether it fits the film.
· 6 min read
How and when to bracket exposures by full and fractional stops, how to set the spread for film versus digital, and when brackets serve as insurance or as blending source frames.
· 5 min read
What dynamic range means quantitatively, how a scene's luminance span compares to film's recording capacity, and where detail is lost when they mismatch.
· 6 min read
How a spot meter reading of the darkest important shadow, placed two stops down on Zone III, secures shadow detail in a negative.
· 7 min read
Why negative film forgives overexposure while sensors clip highlights abruptly, and how latitude differs from dynamic range.
· 7 min read
Film shadows starve for light while digital highlights clip hard. The opposite failure modes of the two media reshape every metering decision.
· 8 min read
How the H&D curve maps log exposure to density, and what its toe, straight-line section, and shoulder reveal about shadow and highlight rendering.
· 8 min read
How shifting raw exposure toward the highlights raises shadow signal-to-noise ratio, and the histogram and clipping discipline the technique demands.
· 6 min read
Why reflected meters render every reading as middle gray, how a gray card fixes a base exposure, and why 18% and 12.5% calibration disagree.
· 7 min read
How incident and reflected meters read light differently, when each excels, and why incident readings sidestep the middle-gray assumption.