· 6 min read
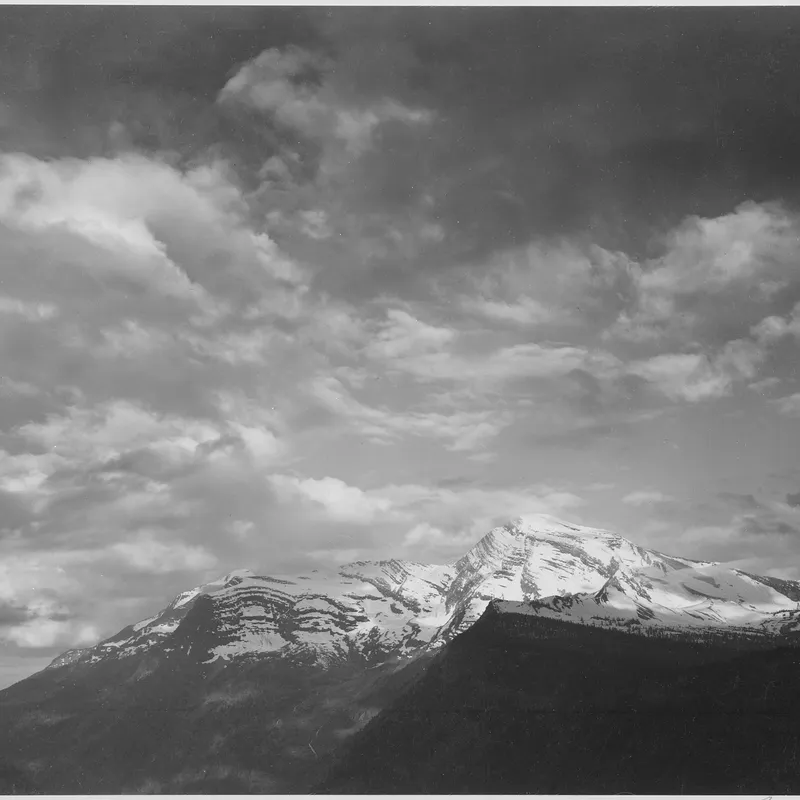
The Negative as Score: Adams, Print Values, and the Logic of Dodging and Burning
How Ansel Adams treated the negative as a fixed score and the print as performance, holding back and burning in to realize a visualized tonal scale.
Written in by Simon Lehmann Editor
A safelight exists to let paper be handled while it cannot yet be exposed by the print itself. The compromise is real: no safelight is completely safe for an indefinite period. Kodak’s How Safe Is Your Safelight? A Guide to Darkroom Illumination (Publication K-4, October 2006) opens with five blunt facts, and the first four are the ones worth memorising: no safelight is safe forever; filters are formulated for specific papers and films; filters fade with use; and poor safelight conditions cost you quality long before any visible fog appears. The Kodak recommendations are based on test procedures similar to ANSI Standard PH2.22-1998. Choosing the right filter and confirming it actually works are two separate jobs, and the second is the one usually skipped.
A safelight filter should transmit only wavelengths to which the emulsion is largely insensitive. Most black and white enlarging papers are orthochromatic, sensitive to blue and green but not red, so their safelights are amber, orange or light brown. Ilford’s Safelight Filters and Darkroom Lamps fact sheet (October 2002) recommends the orange SL1 and the light-brown 902 for its blue-sensitive papers, a list that covers Multigrade IV RC Deluxe, Multigrade RC Cooltone and Warmtone, Multigrade IV FB Fiber, Multigrade FB Warmtone, Ilfospeed RC Deluxe and Ilfobrom Galerie FB. The SL1 lamp takes a standard 15 W E14 bulb, and paper should be handled at least 1.2 m (4 ft) away. The DL20 hanging lamp runs the same 15 W bulb, or 25 W in a high-ceilinged darkroom, and carries an 8x10 in filter below for direct light and a 10x12 in filter above for reflected light. Kodak’s parallel recommendation for conventional contact and enlarging papers is the light-amber OC filter (formulated to replace the older OA), behind a frosted bulb of 15 W for direct illumination or 25 W for indirect, never closer than 4 ft.
Because variable-contrast papers are orthochromatic, a greener or brighter safelight does more than fog them generally: it attacks the green-recording component that carries the higher-contrast information, so highlight separation degrades before any overall veil appears. Apparent colour alone is unreliable, since a tinted bulb may still emit unwanted wavelengths. Filters fade with use too. Kodak warns that at 8 to 12 hours a day you may need to replace them every three months; Ilford asks you to change the filter once a year and record the installation date on the housing.
The coin-on-paper test, where you lay an opaque object on a sheet, expose it to the safelight, develop it and look for an outline, only catches outright fog. K-4 is explicit that this misses the loss of contrast and density that arrives first. The useful test pre-exposes the paper to a faint grey through the enlarger, then layers cumulative safelight exposures across it.
Following K-4: give the whole sheet a brief enlarger flash to a light grey of reflection density 0.25 to 0.50 (that is 0.15 to 0.40 above the paper base), measured on a reflection densitometer or judged by eye against the Kodak Q-16 24-Step Reflection Density Guide. You will likely need the lens at its smallest aperture and a very short exposure. Then work an opaque card across the sheet under the safelight: expose one uncovered quarter for 1 minute, move the card to uncover half and give 2 more minutes, then uncover the last quarter for 4 more. The four bands now carry 0, 1, 3 and 7 minutes of cumulative safelight exposure. Crucially, run this twice, once on paper that has had no enlarger exposure and once on paper that has, so you test both halves of the problem.
Ilford’s variant is lighter and quicker: pre-expose to a paler grey of about 0.2 to 0.3 density, then give safelight steps of roughly 0, 1, 2 and 4 minutes. Pick whichever protocol matches your densitometer and your kit; the principle is identical.
The single most important finding in both tests is an asymmetry. Paper is far more vulnerable to safelight fog after it has been exposed in the enlarger than before. A low-level overall exposure laid on top of the printing exposure is what Kodak calls a super-additive exposure, and K-4’s typical worked result (its Test C) shows the consequence: the paper is safe for up to 7 minutes of safelight before the enlarger exposure but only 3 minutes after. The working limit is set by the after figure, so total safelight exposure must stay under 3 minutes. Ilford labels the two halves of its test directly: the before-enlarger strip checks for hypersensitisation, the after-enlarger strip for latensification, and it states plainly that the after-exposure half is the more critical part.
The mechanism is worth understanding because it tells you where to look. A developable latent image needs a silver speck of roughly four atoms (Ag4); the printing exposure leaves many grains carrying a stable but undevelopable sub-latent-image speck of around two atoms (Ag2). A little extra light afterwards, even from the safelight, pushes those primed grains over the development threshold. That is latensification, and it is why post-exposure safelight fog shows up first in the image area rather than as an even base veil. Hypersensitisation is the same effect applied before the main exposure, which is why the before strip tolerates more.
K-4 defines safe time as any exposure less than or equal to half the time needed to produce a detectable change. So if your after-exposure strip first shows degradation at 6 minutes, 3 minutes is the working limit. Ilford gives concrete pass and fail numbers: a density rise of about 0.04 after just 1 minute means the conditions are inadequate, while a healthy result leaves only a 0.2 to 0.4 rise above the grey on the after-exposure strip at 4 minutes. K-4’s three outcomes map the same territory, from a strip safe to 7 minutes, through an unsafe one, to the typical 3-minute limit of Test C.
Tie this to real gear. An Ilford SL1 or 902 light-brown filter, a 15 W E14 bulb at 1.2 m, is published as safe for up to 4 minutes on Ilford paper. If your own test instead shows degradation beginning at 6 minutes, halving it gives a 3-minute working limit. To buy that time back, move the lamp further from the easel, switch to indirect dim lighting, or drop to a lower-wattage bulb, then re-test.
Fog blamed on the safelight often comes from somewhere else. K-4’s list of real culprits: a cracked, faded or simply wrong filter; too high a bulb wattage; light escaping the enlarger head; lit equipment dials; pinholes between the darkroom and lit rooms; and plywood that looks opaque but passes infrared. Before any test, sit in the dark to adapt, at least 10 minutes by Kodak’s reckoning, about 15 by Ilford’s, and wait at least 5 minutes for any fluorescent afterglow to die. Change the bulb before testing, then check the enlarger head and the safelight housing seams for leaks. Note the replacement date on a sticker on the housing.
Once the room is sound, handling discipline extends the safe time you measured. K-4’s practical mitigations: develop the paper for the first half of the development time with the safelight off; handle paper emulsion-side down; keep stock in paper safes or light-tight drawers; and site the enlarger so the easel area sits in very dim light.
Not every material wants amber. Orthochromatic and recording materials, including Harman Direct Positive FB, want the dark red Ilford 906, a much darker and lower-output red than the everyday amber and orange paper safelights. Ilford’s dark green 907 covers very slow panchromatic materials. Panchromatic papers, such as the discontinued Kodak Panalure, are sensitive across the spectrum and demand near-total darkness or the very dark green Ilford 908 (for all panchromatic materials, colour papers and Ilfochrome, and to be used with extreme care) or a Kodak amber 13 behind a 7.5 W bulb. Treating paper as one thing is how people fog the materials that never had a safe colour to begin with.
· 6 min read
How Ansel Adams treated the negative as a fixed score and the print as performance, holding back and burning in to realize a visualized tonal scale.
· 9 min read
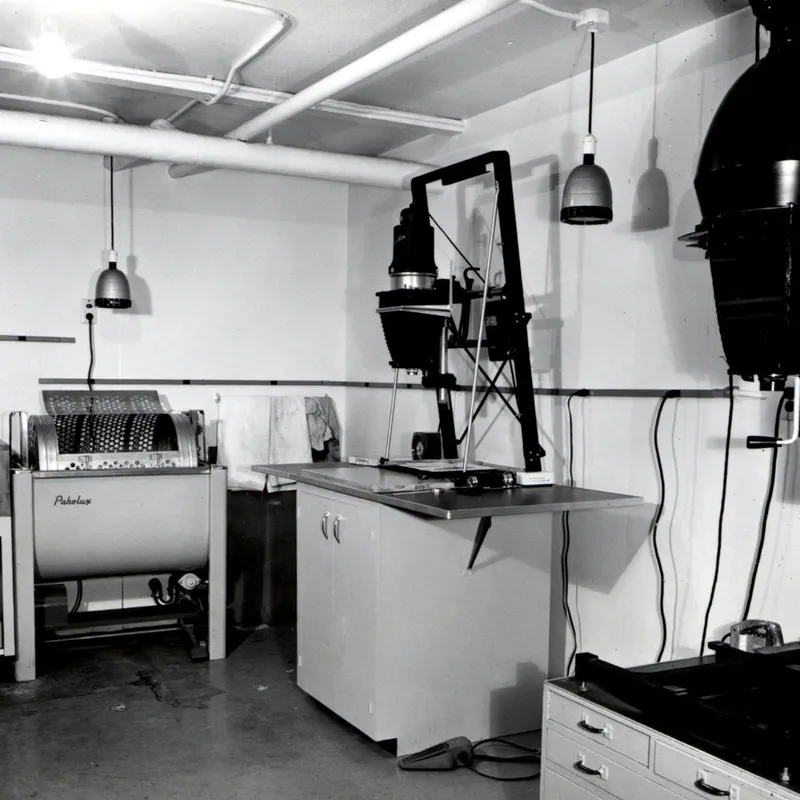
How fixed-grade and variable-contrast papers reshape a negative's tonal range, and how enlarger filtration sets contrast under the lens.
· 6 min read
How the baryta-and-paper construction of fibre prints differs from the plastic-sealed RC base, and the consequences for washing, drying and archival life.
The grainmag companion app
Meter and place your tones without a signal. No account, no internet required — just you, the light, and the grain.