· 6 min read
Channel Mixing for Digital Black and White: Emulating Color Filters in Software
How weighting red, green and blue channels in conversion reproduces the effect of physical filters, and where sensor color response sets the limits.
Written in by Simon Lehmann Editor
Most contrast filtering in black-and-white works to cut haze and clarify distance: a yellow, orange, or red filter absorbs the short-wavelength light that atmospheric scattering adds to a scene, darkening skies and sharpening far detail. The blue filter does the opposite. It is the least used of the contrast filters precisely because its purpose runs against the usual aim, but where the goal is to deepen the sense of depth and atmosphere rather than dispel it, it renders distance in a way no other filter does.
Atmospheric haze is largely the product of Rayleigh scattering, in which air molecules and fine particles scatter light in inverse proportion to the fourth power of wavelength. Because the exponent is four, short wavelengths scatter far more than long ones. The arithmetic is worth doing rather than asserting: for blue at 450 nm against red at 650 nm, the ratio is (650/450) to the fourth power, which is about 4.4 — blue is scattered roughly four and a half times more strongly than red. That scattered blue is the veil of luminance filling the space between camera and distant subject, washing out far detail and lightening shadows at the horizon.
A blue filter passes that veil and rejects almost everything else, so the haze is recorded at full strength and the substance behind it is suppressed. Distant planes lighten, lose contrast, and recede; the scene gains aerial perspective rather than losing it.
The classic choice is the Kodak Wratten 2 #47, the Blue Tricolor separation filter — one of the three filters used to make colour separations, alongside green (#58) and red (#25). The Wratten name traces to Frederick Wratten, the British inventor whose firm Wratten & Wainwright was bought by Eastman Kodak in 1912; the series is now distributed under Tiffen. Edmund Optics lists the deep #47 with a dominant wavelength in the blue and a luminous transmittance of only a few percent.
Read the transmission curve and the picture sharpens. The #47 reaches its density minimum — peak transmission — around 430 to 450 nm, climbs steeply into blocking from about 500 nm, and is effectively opaque, with diffuse density above 3.0, right across 530 to 700 nm. It is doing exactly what a tricolour-blue filter should: pass blue, kill green and red.
There is a trap in the same curve, though. Above roughly 750 nm the density falls back, dropping to about 0.05 by 850 nm. The filter that looks black to your eye is wide open in the near infra-red. On a film with a red or IR-extended tail this leak can fog the image in ways you will not see until the negative is dry, so test the combination before you commit a shoot to it.
If you are buying glass or gel, mind the distinction between the #47 and the deeper #47B. The #47 transmits roughly 410 to 500 nm; the #47B is the narrower, more selective deep-blue, passing roughly 400 to 470 nm. For the strongest haze and orthochromatic effect, the 47B is the one you want.
The filter is dense, and the factor is where casual write-ups go vague. Commit to numbers: the common B&W filter-factor tables (unblinkingeye, for instance) give the 47 a daylight factor of 6, or 2 and 2/3 stops, while Kodak’s own daylight data lists a factor of 8, a full 3 stops. The two disagree, and both are correct for their conditions — filter factors shift with the illuminant, so the daylight figure is not the tungsten one. Take the 3-stop figure as a safe daylight starting point.
Do not trust a through-the-lens meter reading taken through the filter. A TTL meter’s spectral response is not the film’s, and behind a filter this dense and this colour-skewed the two diverge badly; the meter will mislead you. Meter the scene without the filter, then apply the factor by hand — or bracket a stop either side and read the negatives.
A worked example makes the tonal consequences concrete. Meter a distant ridge through no filter and place it on Zone IV. Fit the 47B and the haze-veil over that ridge is recorded at full strength, lifting it toward Zone VI or VII, while red-tinged foreground vegetation, whose long-wavelength light the filter blocks, drops toward Zone III. The far plane loses contrast and the near plane gains it: aerial perspective exaggerated, distance pushed back. Develop the example on a forgiving film — FP4 Plus in ID-11 1+1 at 20°C — and the whole sequence is reproducible end to end.
The same blue bias reproduces the rendering of early photographic materials. Until the 1870s, silver-halide emulsions were sensitive only to blue and violet; Hermann Wilhelm Vogel’s 1873 discovery of dye sensitisation extended that response and made orthochromatic, then panchromatic, emulsions possible. Orthochromatic — Greek orthos, correct, plus chromos, colour — describes film sensitive to blue, green and yellow but blind to orange and red. It was the standard amateur material until panchromatic film, sensitive across roughly 380 to 700 nm, became widely available in the 1930s. Ortho recorded red objects dark, blues light, and skies bleached behind any haze.
You can return that look two ways. Put a blue filter over a panchromatic film — FP4 Plus, HP5 Plus, Tri-X, T-Max 100 — and you withhold the red sensitivity that distinguishes pan from ortho, pushing reds toward black and blues toward white while keeping the speed and grain of a modern stock. Or shoot a genuine orthochromatic film and get the falloff natively: Ilford Ortho Plus 80, whose sensitivity drops off between about 550 and 575 nm, so it is effectively blind past green and yellow; Rollei Ortho 25; or Adox CMS 20. The trade-off is plain. The filter-plus-pan route keeps your choice of speed and grain; the true ortho stock gives authentic falloff with red-blindness baked in, but commits you to a slow ISO.
The reordering is real, not subtle. On panchromatic HP5 Plus, yellow is the lightest band on the tonal scale; on Ilford Ortho, yellow renders darker than blue, about the same value as green. Withholding the long wavelengths does not merely darken reds — it rebuilds the whole grey scale.
The blue filter suits subjects where atmosphere is the subject: misted mornings, layered hills fading into distance, rain, fog, snow. The cost is what it does to people and greenery. Caucasian skin reflects strongly in the green and red, and chlorophyll in foliage likewise; the blue filter suppresses exactly those wavelengths, so skin goes dark and mottled with blemishes and freckles emphasised, and green leaves muddy toward black. The same mechanism that lifts the far ridge ruins a portrait.
Treat it as a deliberate, specialised tool, reached for when the intent is to thicken the air rather than clear it. For placing these tonal shifts on purpose rather than by accident, the standard reference remains Ansel Adams’ The Negative, whose fifth chapter, Filters and Pre-exposure, sets out filter choice and zone placement in full.
· 6 min read
How weighting red, green and blue channels in conversion reproduces the effect of physical filters, and where sensor color response sets the limits.
· 6 min read
How filter factors are derived, why they shift with light source and film, and how to convert a factor into stops of added exposure.
· 6 min read
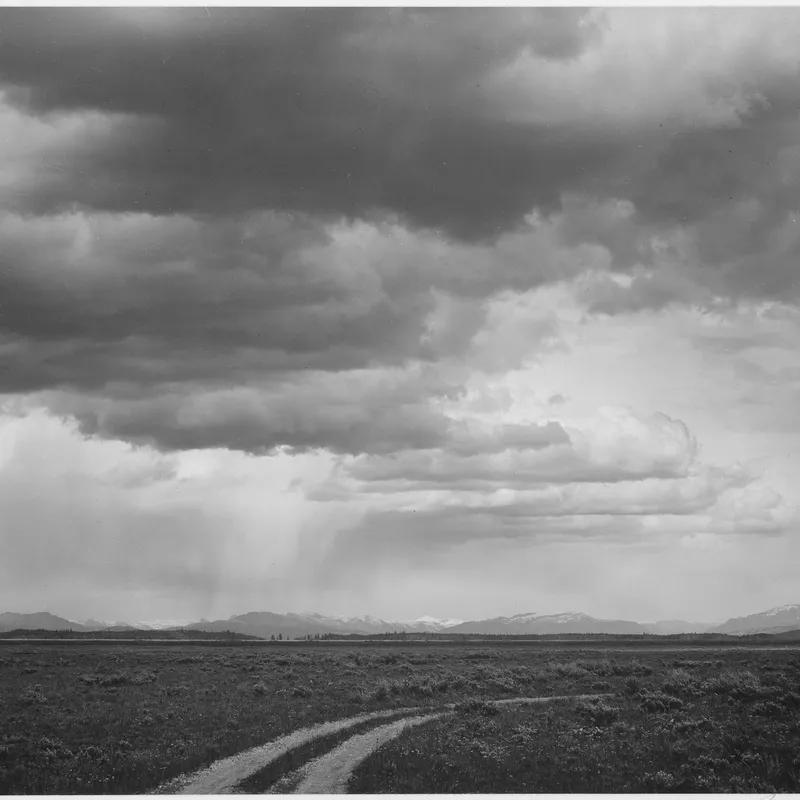
How graduated neutral density filters compress a scene's brightness range by darkening the sky, and why the horizon dictates a hard or soft transition.
The grainmag companion app
Meter and place your tones without a signal. No account, no internet required — just you, the light, and the grain.