· 6 min read
The Negative as Score: Adams, Print Values, and the Logic of Dodging and Burning
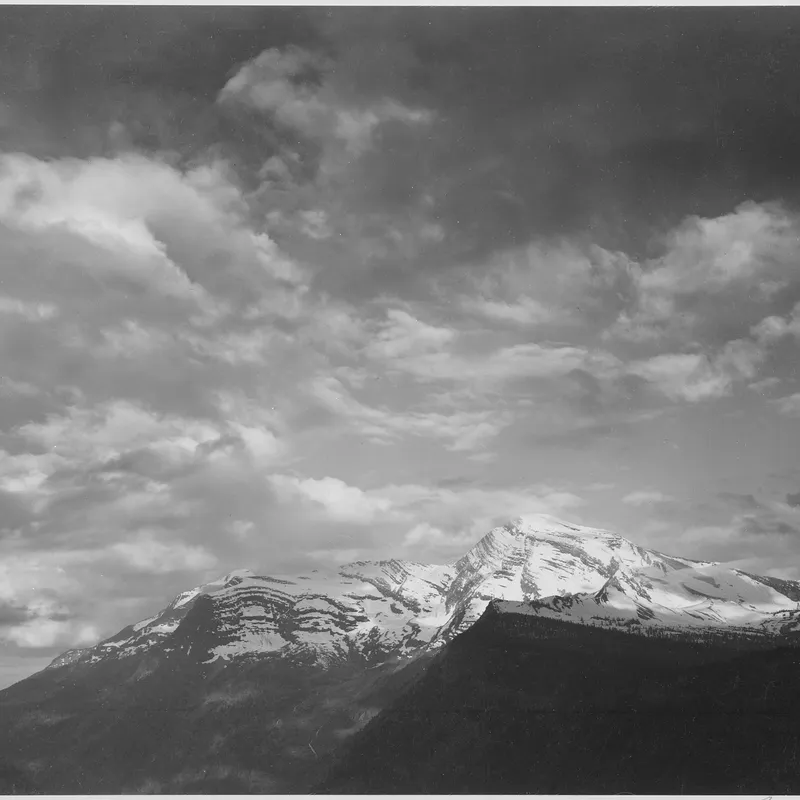
How Ansel Adams treated the negative as a fixed score and the print as performance, holding back and burning in to realize a visualized tonal scale.

Written in by Simon Lehmann Editor
A conventional print on variable-contrast paper commits to a single contrast grade, set by one filter, for the whole sheet. That single choice forces a compromise: the grade that holds shadow separation may flatten the highlights, and the grade that renders the light greys of a sky may collapse the shadows. Split-grade printing removes the compromise by treating contrast as two adjustable variables rather than one. The image is built from two stacked exposures on the same sheet — one through grade 0 filtration, one through grade 5 — and the relative length of each exposure determines where the print lands on the contrast scale. Ilford first introduced Multigrade variable-contrast paper in 1940, with the modern resin-coated version arriving in 1978; the two-filter grade-0/grade-5 approach described below was documented and popularised by the UK printer Les McLean, writing on it from the 1990s and into the 2000s, and is distinct from Ilford’s own house procedure that starts from a single grade 2.5 strip.
The popular description of VC paper as a blend of “a low-contrast emulsion and a high-contrast emulsion” is wrong at the level of the manufacturer’s own datasheet. Ilford’s Contrast Control for ILFORD MULTIGRADE Variable Contrast Papers (April 2010) states that the coating is a mixture of three separate emulsions. Each is a basic blue-sensitive emulsion to which a different amount of green sensitising dye has been added. All three parts have the same inherent contrast and the same speed to blue light; what differs between them is their speed to green light — the emulsion with the least green dye is the least sensitive to green.
That single difference produces the whole effect. Under blue light all three emulsions react together at the same speed and contrast, and three identical curves stacking additively give a steep, short-scale, high-contrast result. Under green light the three emulsions respond at three different speeds; three curves of the same contrast but offset along the exposure axis spread additively into a long, low-gradient, low-contrast result that resists deep black. A magenta filter absorbs green and transmits blue, pushing the paper toward its hard response; a yellow filter absorbs blue and transmits green, pushing it toward its soft response. Split-grade printing simply uses the two extremes — grade 0 (or 00) and grade 5 — in succession rather than blending them into one intermediate grade.
Ilford supplies twelve numbered Multigrade filters covering grades 00 to 5 in half-grade steps, the lowest number being the softest. On a dichroic colour head the same range is set by dialling yellow or magenta: for Multigrade on a Durst head (maximum 170M), Ilford gives grade 00 ≈ 150Y, grade 0 ≈ 90Y, grade 2 = no filtration, and grade 5 = 170M; Kodak heads run roughly 199Y to 199M. These figures are guides only, because colour-head filters are optimised for colour paper, not VC stock, so the achievable maximum contrast is usually a little lower than a dedicated grade 5 filter delivers. The reference paper for the numbers that follow is MULTIGRADE IV RC Deluxe; MG FB Classic behaves to the same principles on a fibre base.
The light source matters as much as the filter. A condenser enlarger gives roughly one extra grade of contrast over a diffuser for a typical silver negative — though the gap shrinks for very pale, flat negatives and for the dye-image XP2 Super. Cold-cathode and pulsed-xenon heads, and colour heads not designed for VC paper, can compress the soft end of the range; an 00 filter or up to 70Y of extra yellow helps recover it, and with some cold-cathode lamps the grades bunch toward the hard end. The practical lesson is that the true contrast spread of your grade 0 and grade 5 must be confirmed by test on your enlarger, not assumed from the box.
The soft exposure, made through grade 0, lays in the highlights and light mid-tones. Its green-light combined curve has a long, low-gradient toe-to-shoulder, so it builds tone gradually and reaches only a limited maximum density — which is exactly why it sets how dark the lightest meaningful tones become: the texture in a sky, detail in pale skin or paper, the value of an open shadow. Lengthening it brings the highlights down and fills them out without materially darkening the deepest shadows.
The hard exposure, made through grade 5, supplies the blacks and shadow separation. Its blue-light curve is steep and short, climbing quickly to full black, so this exposure determines where the print reaches maximum density and how abruptly the dark tones part from one another. Lengthening it deepens the blacks and raises overall contrast; shortening it opens the shadows. The two exposures behave roughly additively through the mid-tones, which settle between the endpoints without being addressed directly. The curve shapes that justify all of this are printed in the June 2019 MULTIGRADE RC datasheet, measured with Multigrade developer at 1+9 for one minute at 20 °C.
There is one quantitative trap that catches readers new to the method. For MG IV RC Deluxe the ISO paper speed (P) is 200 for grades 00 through 3, but drops to 100 for grades 4 and 5. In Ilford’s own phrasing, the exposure for filters 00 to 3.5 is the same, while filters 4 and 5 need roughly double. In split-grade work the grade 5 leg is therefore the slow leg: a printer who reuses the grade 0 base time as a starting point for the grade 5 stepping will badly under-expose the blacks. Plan the hard exposure expecting it to want about twice the light per stop of effect.
Les McLean’s method is the canonical version with concrete numbers. Expose a grade 0 test strip across the print in 2-second steps and choose the step that places the brightest important highlight correctly — ignore the shadows, which will look weak, because the contrast “will appear when the grade 5 exposure is added.” Say that lands at 14 s at grade 0. Now expose a fresh strip at a flat 14 s grade 0, then add a stepped grade 5 exposure on top, increasing until the blacks reach full density without losing the last shadow detail — say 8 s at grade 5. The final print is 14 s at grade 0 followed by 8 s at grade 5 on one sheet. McLean is explicit that the final print exposures should be made in the same order as the test-strip exposures, since doing otherwise produces a subtle change in contrast; and once you start holding back a face during the soft exposure or burning a window during the hard one, the order and the registration of the two exposures matter all the more.
Ilford’s alternative starting point is a grade 2.5 test strip across the whole image to fix an overall exposure, which is then split into a soft and a hard leg. Either way, develop every test strip for the full development time — Multigrade RC images appear at around 10 seconds but want a minimum of 45 seconds in the developer (Multigrade 1+9 for one minute, ILFOSTOP 1+19, Rapid Fixer 1+4 for 30 seconds). A strip pulled early reads lighter than the print will finish, and the times you choose from it will be wrong.
The grade range is wide enough to print negatives developed to very different contrasts, and the ISO Range (R) figures put numbers on it. For MG IV RC Deluxe, grade 0 has R = 160 and grade 5 has R = 40 (no filter is 110). To match a negative, measure its effective density range as projected, multiply by 100, and choose the nearest R figure: Ilford’s worked example takes a negative of 1.32 log-exposure units, reads it as 132, finds the nearest figure 130, and selects grade 1. Split-grade lets you reach across that whole span and beyond, blending toward R160 softness or R40 hardness rather than picking a single fixed grade. It is also why a negative developed to higher-than-normal contrast stops being a problem and becomes, in McLean’s framing, an ally: the hard leg is simply held shorter, and the soft leg does more of the work.
· 6 min read
How Ansel Adams treated the negative as a fixed score and the print as performance, holding back and burning in to realize a visualized tonal scale.
· 9 min read
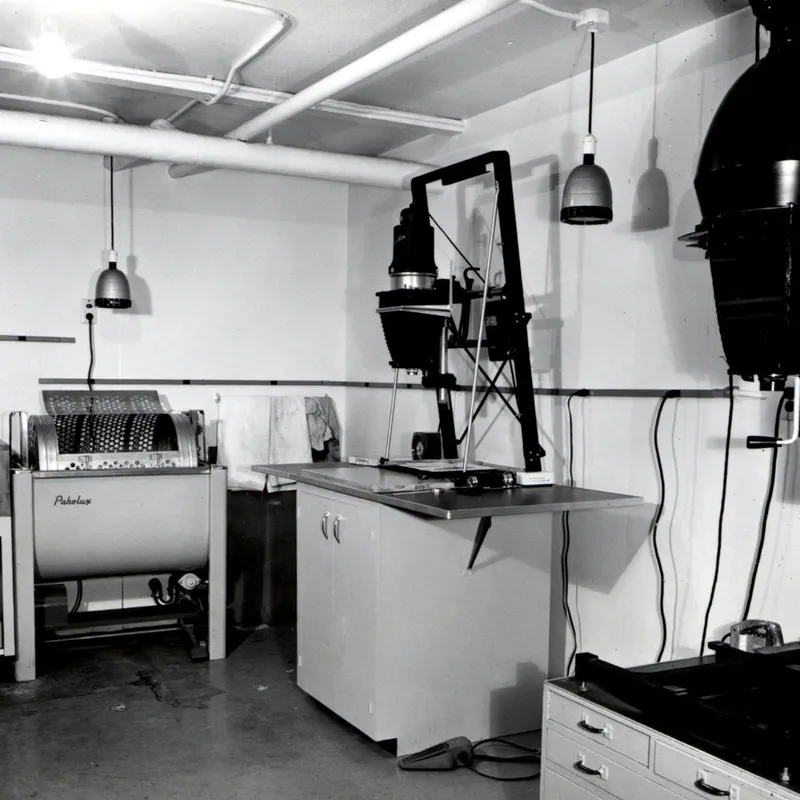
How fixed-grade and variable-contrast papers reshape a negative's tonal range, and how enlarger filtration sets contrast under the lens.
· 7 min read
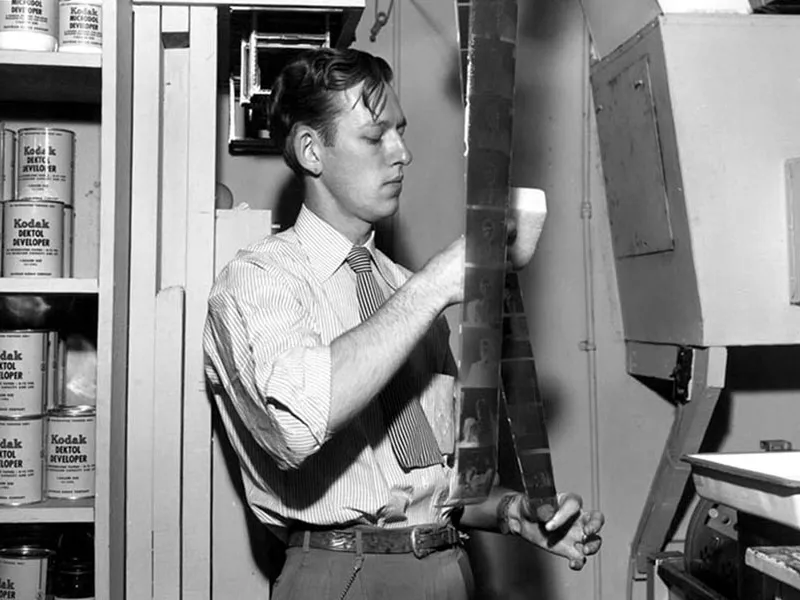
How holding back and adding light to specific print areas works, why constant motion keeps edges soft, and how a printing map records the sequence.
The grainmag companion app
Meter and place your tones without a signal. No account, no internet required — just you, the light, and the grain.