· 7 min read
Condenser Versus Diffuser Enlargers and the Callier Effect
Why condenser and diffusion enlarger heads render contrast and grain differently, the Callier effect behind it, and how to choose between them.
Written in by Simon Lehmann Editor
A print that is crisp at the centre yet soft toward one corner is rarely a lens fault. Far more often the negative, the lens and the paper are not lying in parallel planes. An enlarger projects the negative as a cone of light, and any tilt between the stages tips the plane of sharp focus, so the centre can focus perfectly while a corner falls outside the depth of focus. Alignment fixes the geometry first; focusing, the carrier and the easel refine what it has made possible. Ralph Lambrecht and Chris Woodhouse devote a chapter of Way Beyond Monochrome (2nd edition, 2011) to exactly this discipline, and Ansel Adams set it out for a generation in The Print (New York Graphic Society, 1983).
Sharp, even enlargements depend on the negative stage, the enlarging lens and the baseboard all being parallel. A loosened column, a carrier that seats unevenly, or a warped baseboard breaks that relationship and tips the focal plane relative to the paper. Way Beyond Monochrome and The Print both treat parallelism of the three stages as the precondition for edge-to-edge sharpness, before any consideration of lens quality.
The reason a small tilt matters is that the tolerance you are working inside is itself small. The depth of focus at the easel — the slab of distance over which the projected image stays acceptably sharp — is t = 2Nc(1 + m), where N is the lens f-number, c the acceptable circle of confusion at the paper, and m the magnification. The relation that matters here is the linear one: depth of focus scales directly with the f-number. Double the f-number and you double the band, which is precisely why stopping down recovers a stage that is not perfectly flat.
Put numbers on it. Print 35mm to a 10-inch dimension and the magnification is roughly m = 8. Take a generous circle of confusion at the paper of c = 0.03mm and a lens at f/8, so N = 8. Then t = 2 × 8 × 0.03 × (1 + 8) = 4.3mm. That figure is the total band, so the usable half-band either side of exact focus is about 2.2mm at the paper.
Now tilt the negative stage. The tilt is magnified onto the paper just as the image is, so a stage error of a few hundredths of a millimetre across the carrier opens into millimetres across a 10-inch print. Once the corner of the projected frame drifts further from the paper than that half-band, it goes soft no matter how carefully you focus the centre. Stop down to f/16 and t roughly doubles to about 8.6mm, swallowing more of the error — but you have then bought sharpness at the corners with diffraction everywhere, which is the trade the next section is about.
A spirit level placed on the carrier, the lens flange and the baseboard confirms each stage independently, though it relies on the column being plumb. A more direct method uses a front-surface mirror laid on each stage and a laser: when the reflected dot returns to its own source on a target, the two surfaces are parallel. The double-mirror “tunnel” variant shows an unbroken corridor of reflections only when alignment is true.
The Versalab Parallel is the standard commercial gauge of this kind. It is factory-aligned to within 0.015 inch over 20 inches — about 2.6 minutes of arc — and Versalab note that a negative stage tilted by only the thickness of the film throws the reflected dot more than 1mm (0.04 inch) off the target. That sensitivity is the point: it makes a tolerance you cannot see by eye into a dot you can. Whatever the tool, verify at the head height you will actually print at, since some columns shift as the head is raised.
Focusing is done with the lens wide open for brightness, then stopped down to print. Enlarging lenses are sharpest about two to three stops down, commonly f/8 and sometimes f/5.6 to f/11. The mechanism is a crossover: wide open, residual lens aberrations dominate and soften the image; as you stop down those aberrations shrink, but diffraction grows. The two curves cross a couple of stops down, giving a best-performance aperture — typically f/8 for a 50mm enlarging lens. From f/11 to f/16 diffraction takes over and performance falls again.
Lens design shifts where that crossover sits, particularly at the edges. Apochromatic designs — Schneider’s APO-Componon and Rodenstock’s APO-Rodagon — reach their peak earlier and cleaner than their non-APO siblings, the Componon-S and the Rodagon; the APO-Componon 90/4.5 peaks roughly a stop earlier than the APO-Rodagon 105, which wants f/8. The practical consequence is that a non-APO lens often has to be stopped to f/11 to nearly match at the edges what an APO lens delivers at f/8.
One caveat undercuts the simple “focus wide open, then stop down” instruction: some enlarging lenses shift focus as they are stopped down. The safe practice is to confirm focus near the working aperture rather than assume it has not moved from where you set it at full aperture.
A grain focuser removes the guesswork from focusing by hand. A front-surface mirror reflects the projected image up into a magnifying eyepiece, presenting an aerial image of the negative’s own grain. The reason to focus on grain rather than on picture detail is physical: grain is the silver structure of the emulsion itself, so it sits genuinely at the focal plane, whereas image detail is a projected feature that can be ambiguous in a thin or low-contrast negative. Standard models are the Paterson Micro Focus Finder at 8x, the Peak Enlarging Focuser type 2000, and the Kaiser Focuscop; most carry a fixed black bar reticle, while the Paterson Micromega type shows two pale grey concentric circles.
The eyepiece must be set for your eyesight first, and the reason it works is worth understanding. The reticle or black bar sits in the same optical plane as the aerial image. You turn the diopter-correctable knurled eyepiece until the reticle is sharp, which fixes your eye’s focus on that plane; thereafter, when the projected grain also looks sharp it genuinely coincides with the reticle plane, and therefore with the paper plane. Because magnification shifts focus, place the focuser within the image area at final print size, read it near the centre and then near a corner, and refocus if needed.
Alignment and focus assume the negative is flat, and often it is not. In a glassless carrier the film buckles — “pops” — as the lamp heats it, and focus can drift within about five to seven seconds. The working discipline is to let the negative warm up and pop before focusing, then focus and expose while it is settled. A glass carrier holds the film flat but introduces Newton’s rings where glass meets the shiny base. The cures are anti-Newton glass — the top glass on the Leitz/Leica V35 carrier is the classic example — or an air-gap spacer, each at a small cost in apparent sharpness. A negative that is sharp at the focuser and soft at one edge on the print may not be a tilted stage at all; it may be a frame that bowed out of the plane you so carefully aligned.
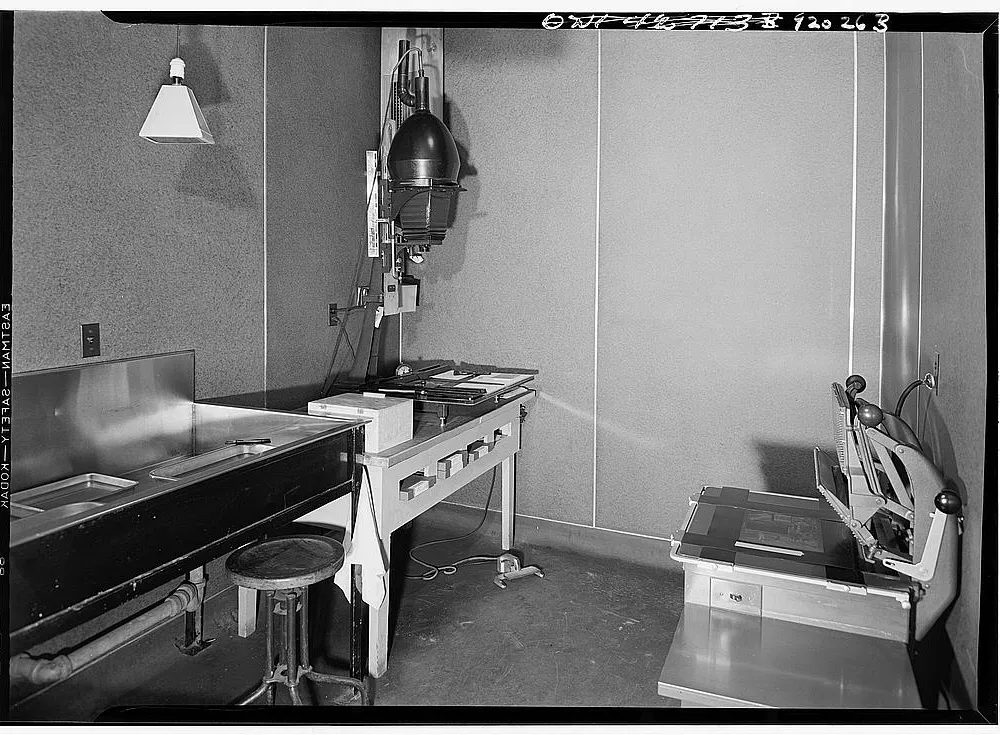
Image: Reginald Hotchkiss, FSA/OWI photograph laboratory enlarging and contact room, Washington, D.C. (1941), U.S. Library of Congress, public domain
The grainmag companion app
Meter and place your tones without a signal. No account, no internet required — just you, the light, and the grain.